Tongariro Alpine Crossing
A Walk Through Ice And Fire
The Tongariro Alpine Crossing is not just a hike — it’s a full-day journey across an active volcanic landscape that feels more like another planet than New Zealand. One moment you’re walking through barren lava fields, the next you’re staring into a steaming crater, and a few hours later you’re descending past vivid emerald lakes that look totally unreal in colour.
When you begin this crossing, you’re stepping into one of the most dramatic day hikes in the world — and it doesn’t waste any time showing you why.
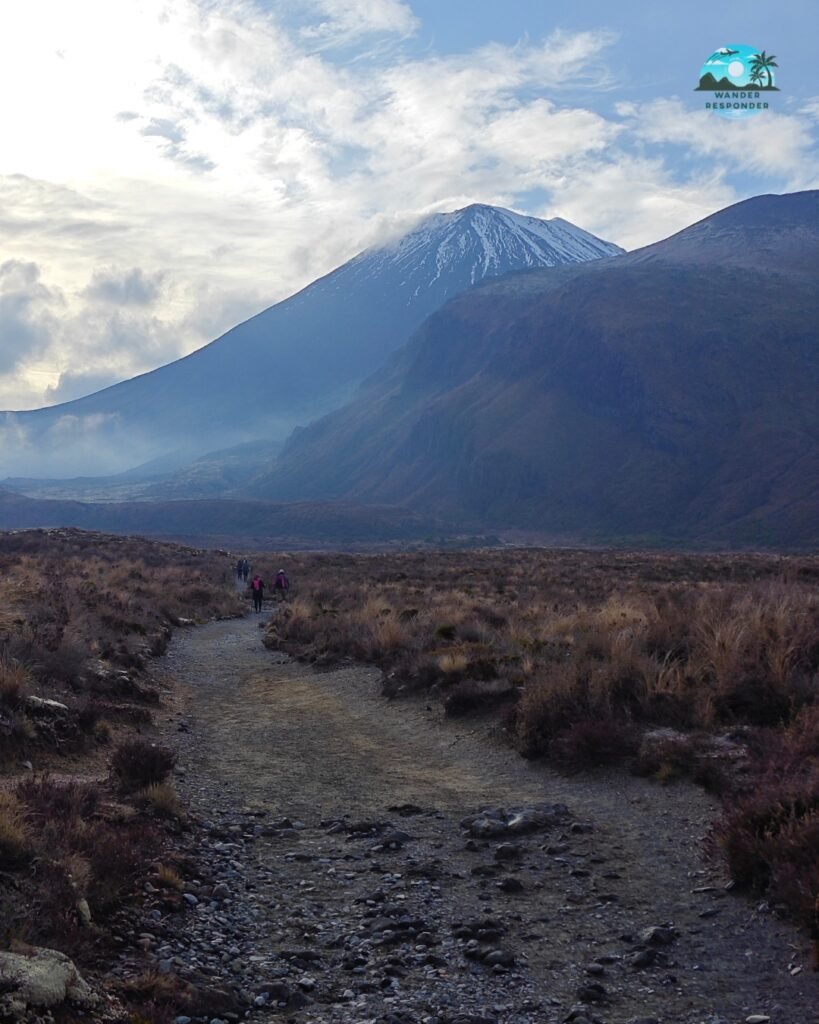
If the landscape feels familiar, there’s a reason for that – the volcanic terrain was used as inspiration for Mordor in The Lord of the Rings films.
Frodo Baggins and Samwise Gamgee crossed this harsh, ash-covered landscape on their journey to Mount Doom to destroy the One Ring. While the actual filming was done in different locations on Mount Ngauruhoe and surrounding areas, the dramatic volcanic scenery of Tongariro captures that same sense of endurance, isolation, and raw natural power. When you’re already past the lakes and you look back to Mount Doom you’ll see what I mean.
Table of Contents
- Where is Tongariro Alpine Crossing and How to Get There
- Where to Stay Near Tongariro Alpine Crossing
- Tips
- General Information About Tongariro Alpine Crossing
- What the Hike is Actually Like
- The Devil's Staircase
- Crossing South Crater
- Reaching Red Crater: The Highest Point
- The Emerald Lakes Descent
- The Long Descent to Ketetahi
- What Makes It Truly Special
- Why Shouldn't I Hike it in Reverse - From Ketetahi to Mangatepopo?
- Is it Worth it?
Where is Tongariro Alpine Crossing and How to Get There
Tongariro Alpine Crossing located in the middle of New Zealand’s North Island. It is a 19.4-kilometre-one-way hike with no public transport at the start or finish points. Therefore, your transfer to the starting/finish point must be a part of the planning process. Most hikers base themselves in nearby towns like Taupō, Turangi, or National Park Village, and then use a shuttle service to access the trail.
NOTE: Best case scenario is you can park your vehicle at the end of the hike, take a shuttle to the starting point, hike and then finish at your vehicle.
To get to Taupō or any of the towns I recommend you simply rent a car or a campervan. There are also some companies that provide a guided tour and shuttle, like this one.
Shuttle Service
When you arrive on the morning of your hike, you’ll take a shuttle to the official starting point at Mangatepopo Valley. The shuttle drops you off, and from there you begin the hike immediately.
At the end of the crossing, you finish at Ketetahi Car Park, where the same shuttle company will pick you up and return you to your accommodation or original meeting point. So, when booking a shuttle there are 2 ways this goes: you take a shuttle from your vehicle’s parking or you take a shuttle from nearby town.
- Shuttle from your vehicle’s parking
If you’re self-driving, you’ll still need to use a shuttle system unless you want to walk an extra-long road section at the end of the hike (not recommended, don’t do it, it’s not worth it and people that decide for this end up hitchhiking if they manage to get somebody to pick them up). Parking is available only at Ketetahi Car Park, which should be your finishing point. I’ll explain this more into detail later.
The easiest way to hike the Tongariro Alpine Crossing is to park at the finish (Ketetahi), shuttle to the start, and walk one-way back to your car. No waiting. No return shuttle. No time pressure. That’s exactly what we did. If this sounds like a great idea I’d recommend you reserve your shuttle with Owhango Adventures or Ruapehu Scenic Shuttles. Because demand is high in peak season, it’s strongly recommended to book your shuttle in advance, especially on clear-weather days when the track becomes extremely popular.
- Shuttle from nearby town
This is a better option if you don’t want to leave your vehicle parked on unsupervised parking (Ketetahi) or if your accommodation already has a parking and you want to leave your vehicle there. The operator will allocate the pick-up point (usually in town at well-known point, like a bus stop) and the drop-off point will be the same. Reliable operator (always on time) is Tongariro Crossing Shuttles and Tongariro Expeditions. Most shuttles operate early morning departures (around 6:00–8:30 am) and afternoon return pickups once hikers finish at Ketetahi.
Parking & DOC Rules
Parking for the Tongariro Alpine Crossing is strictly managed by the Department of Conservation (DOC).
There is no long-term public parking at Mangatepopo (trail start – limited to 4 hours) during peak season. The Ketetahi road-end car park (finish point) has a time restriction to prevent congestion and ensure turnover. Parking enforcement is actively managed, so leaving a vehicle for the full hike duration at either end is not permitted and you will be fined. This system is designed to protect the fragile alpine environment and manage the extremely high visitor numbers on clear-weather days.
Why This System Exists
The Tongariro Alpine Crossing is one of New Zealand’s most visited day hikes, and without controlled transport, both ends of the trail would become severely overcrowded.
The shuttle + DOC system ensures reduced environmental impact, safer traffic flow, controlled access during weather closures and a smoother experience for hikers.
Where to Stay Near Tongariro Alpine Crossing
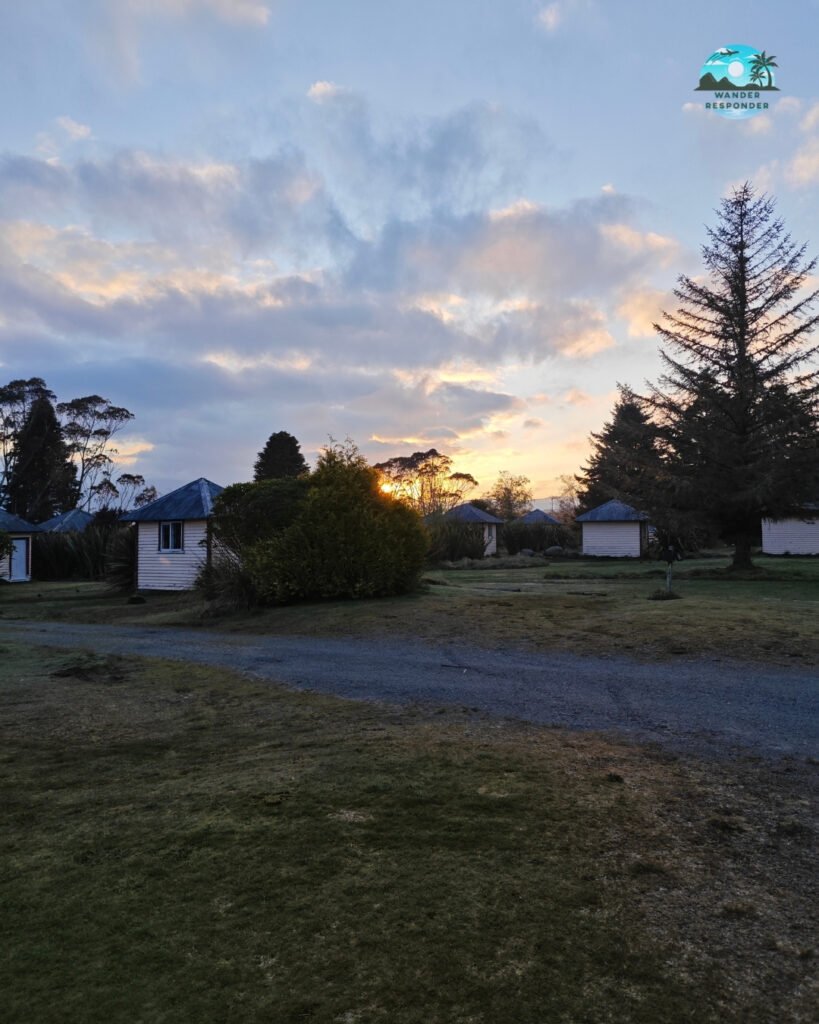
There are 2 closest villages to stay near Tongariro – National Park Village/Waimarino and Whakapapa Village. There is a small range of accommodation available. It’s still too far away from the beginning of the track, so shuttle is basically mandatory.
More accommodations can be found in Taupo, Ohakune and other bigger towns.
Low budget (up to 30€/person/night):
- National Park Backpackers
- National Park Alpine Lodge
- Adventure Lodge
Medium budget (private rooms with private bathrooms, price up to 50€/person/night):
- Plateau Lodge (Waimarino)
- The Park Hotel Ruapehu
Even better:
- Alpine Chalets
- Aoraki Court Motel
- Silverstone Lodge
With campervan: see this blogpost
- Mangahuia Campsite (DOC)
- Discovery Lodge Tongariro
Tips
- Start early. Morning weather is usually more stable, and shuttles fill fast.
- Book a shuttle in advance. This is a one-way hike — you must arrange transport from Ketetahi to your starting point or somehow different your plan is.
- If you’re really on a budget and there are more people in your group you can also drive them to the starting point (Mangatepopo) and drop them there, then drive back yourself to finish point (Ketetahi) and have a shuttle pick you up there and drive back to starting point (Mangatepopo). This will take quite some time (around an hour), but it’s by far the cheapest option.
- Dress in layers. You can experience sun, wind, rain, and near-freezing conditions in the same day.
- There is no shelter. There are no huts, only exposed terrain. There is no shadow either on the entire track. Come prepared for such conditions.
- Bring enough water and food. At least 2–3 litres per person. You can snack by the lakes, it’s amazing.
- Trekking poles help a lot, especially on the descent from Red Crater and the final descent.
- Check weather conditions carefully. The crossing should not be attempted in high winds, snow, or heavy rain. You’ll notice a warning signpost at the beginning of the trail as well, showing clouds over mountains – you do not want to hike in those conditions, you might get lost extremely quickly. The warning signpost encourages you to turn back if you notice fogging.
- Don’t underestimate the final descent. Most fatigue hits after the “main highlight” section. The final descent is devishly long and takes several hours. When you think you’re almost finished you’re only half way down.
General Information About Tongariro Alpine Crossing
- The Tongariro Alpine Crossing is a one-way, 19.4 km alpine trek through the volcanic heart of the North Island.
- You must register in advance using the Department of Conservation (DOC) booking system. There is no fee for the registration. Do it on their website here.
- The duration of the hike depends on your pace and weather, but anywhere between 6 to 9 hours.
- Elevation gain is 1,200m.
- Difficulty: challenging (not technical, but physically demanding – long, strenuous)
- Start/finish: Mangatepopo Valley → Ketetahi Car Park
- There are no huts on track, this is a day hike only. You could extend it into a Tongariro Northern Circuit, but that’s a multi-day hike.
- Toilets on the trail are limited, but at least there are a few. There are 9 toilets in total along the route – at both trailheads and multiple points in between. They are spaced roughly every 1–2 hours along the track. They’re basic long-drop toilets with no running water.
- Water must be brought with you. There is no shop or stall to buy it, streams are very limited and not reliable/treated. See other things you want to pack with you.
- Best season to hike Tongariro Alpine Crossing is late spring to early autumn (November through April ideal.
This is not a casual stroll. Weather changes fast, wind can be brutal, and the terrain is exposed almost the entire way. But in return, you get one of the most visually intense hikes on Earth.
What the Hike is Actually Like
When you start walking, the trail feels almost too easy. The beginning from Mangatepopo Valley is gentle. A wide gravel path leads you gently through a stark volcanic valley surrounded by dark ridgelines. You don’t feel like you’re in for anything extreme yet.
But that illusion doesn’t last long. Soon, you’ll begin a gradual climb toward the first big challenge — a steep volcanic staircase known as the Devil’s Staircase.
The Devil's Staircase
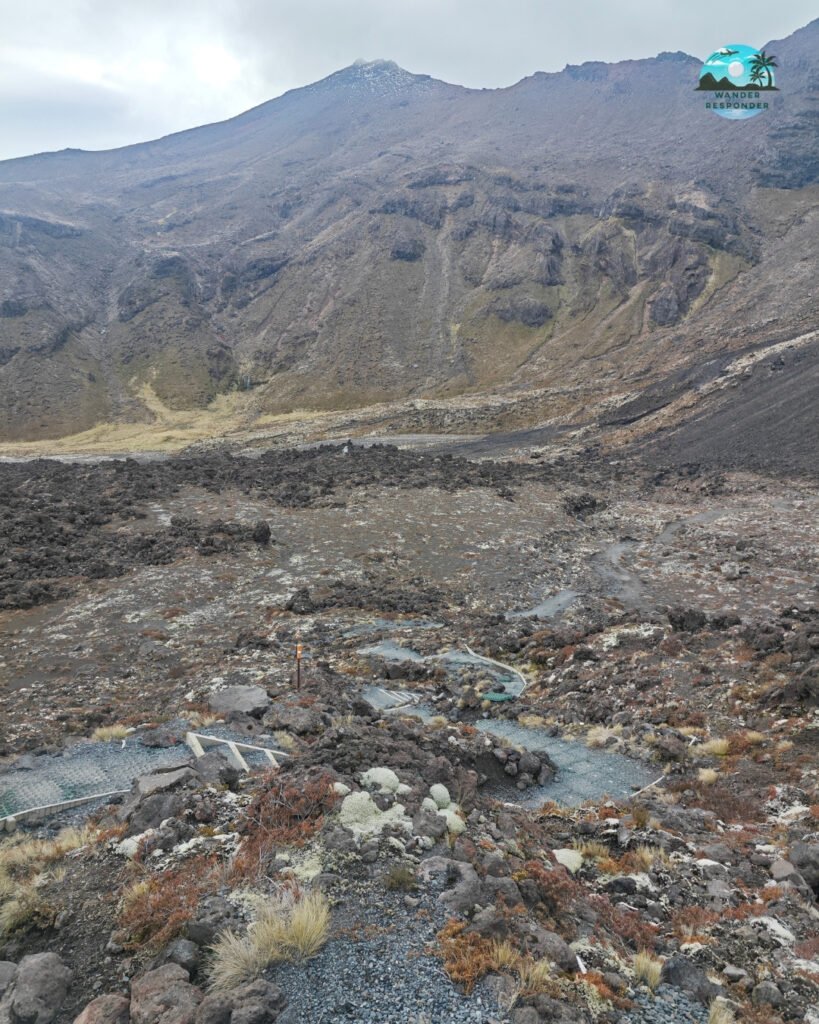
When you reach the base of the climb, the landscape changes completely. You start ascending a long, exposed ridge carved into ancient lava flows. This is where your legs quickly remind you that Tongariro is serious business. The climb is steady but relentless. There’s no shade, and if the wind picks up (which it often does), you’ll feel fully exposed to the elements. As you climb higher, the views behind you open up across the valley you just walked through — and ahead, the volcanic plateau begins to reveal itself.
Crossing South Crater
At the top of the Devil’s Staircase, the terrain suddenly flattens into a vast open basin. It’s not just a normal flat surface – you’re inside the South Crater.
This is where things start to feel otherworldly. You’re walking across a wide, barren volcanic plain that stretches toward distant ridgelines. The ground is dusty, dry, and almost lunar. On a clear day, you might catch your first dramatic view of Mount Ngauruhoe (Mount Doom) rising sharply in the distance. It feels like a moment of relief — but also a reminder that the hardest part is still ahead.
Reaching Red Crater: The Highest Point
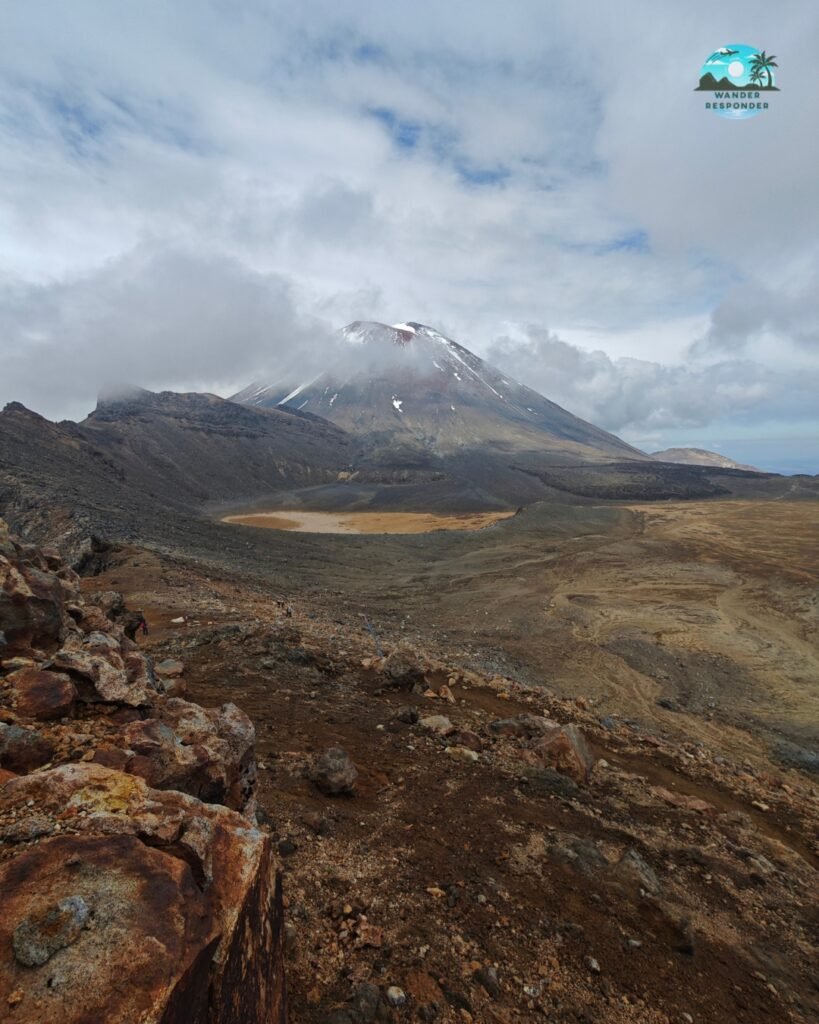
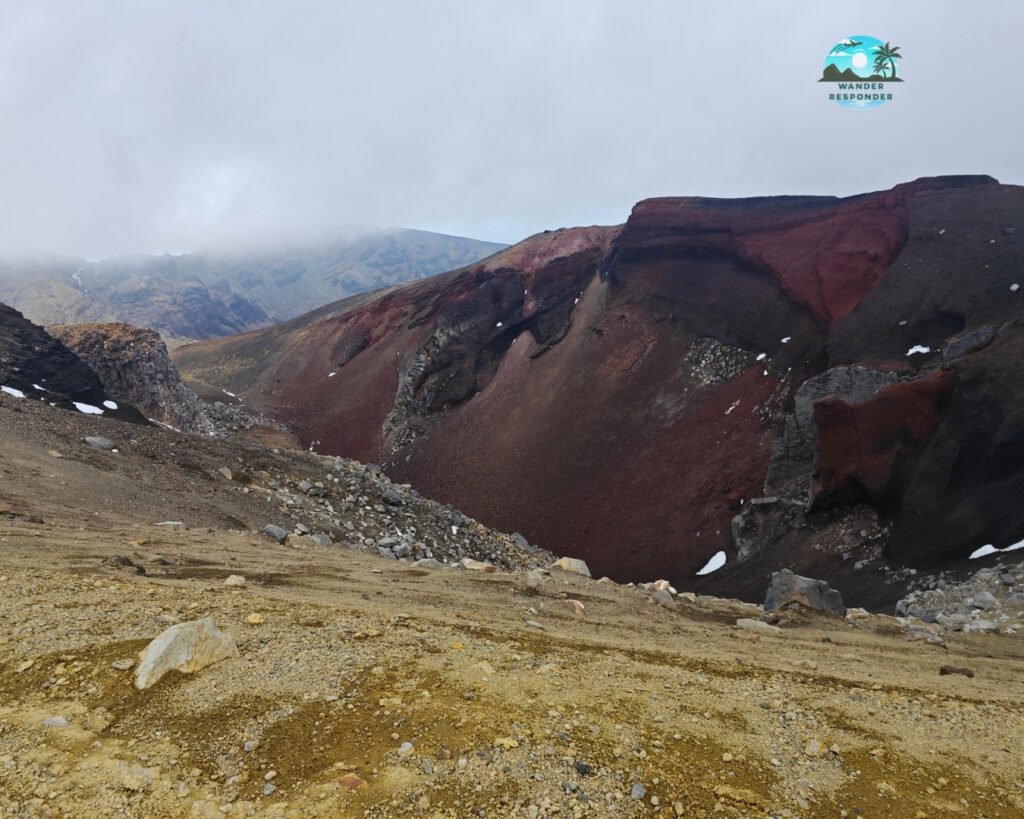
The climb from South Crater up toward Red Crater is where the hike becomes truly intense. This is the highest point of the entire crossing, and the wind here is often fierce enough to make you stop mid-step. When you reach the ridge, the colour of the landscape shifts dramatically — deep reds, burnt oranges, and black volcanic rock surround you. And then you look down.
A massive crater drops away beside you, steaming slightly in places, with sharp volcanic edges that feel raw and untouched. This is one of those moments where you instinctively slow down — not because you’re tired, but because the view demands it.
The Emerald Lakes Descent
From Red Crater, the descent begins — and it is steep. Loose gravel and volcanic scree make the downhill section tricky, and many hikers take it slowly or use trekking poles for balance. Still, people fall, slip and slide down. I seriously can’t imagine the struggle of taking two steps forward and sliding one step back if you’d be attempting the hike in reverse direction (more on that below).
But then you see them.
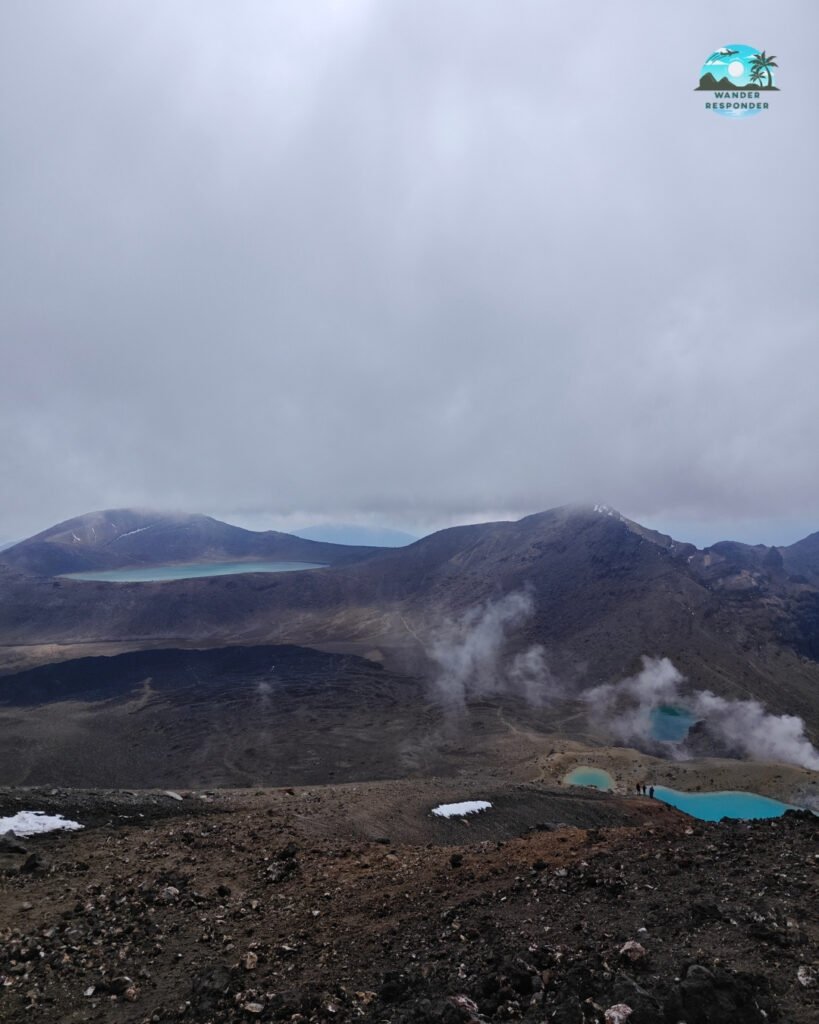
The Emerald Lakes appear suddenly below you — three bright turquoise pools sitting in a crater basin, completely surrounded by stark volcanic terrain. The contrast is unreal. After the harsh reds and blacks of the crater ridge, the colours feel almost artificial. This is one of the most photographed sections of the entire hike — and for good reason.
You can’t miss the steam vents/fumarolas in the distance. If you take a snack break by the lakes you can literally hear them – thundering, steaming gushes of hot air.
The Long Descent to Ketetahi
After the lakes, you’ll walk another flat basin and then the trail continues downhill for several hours.
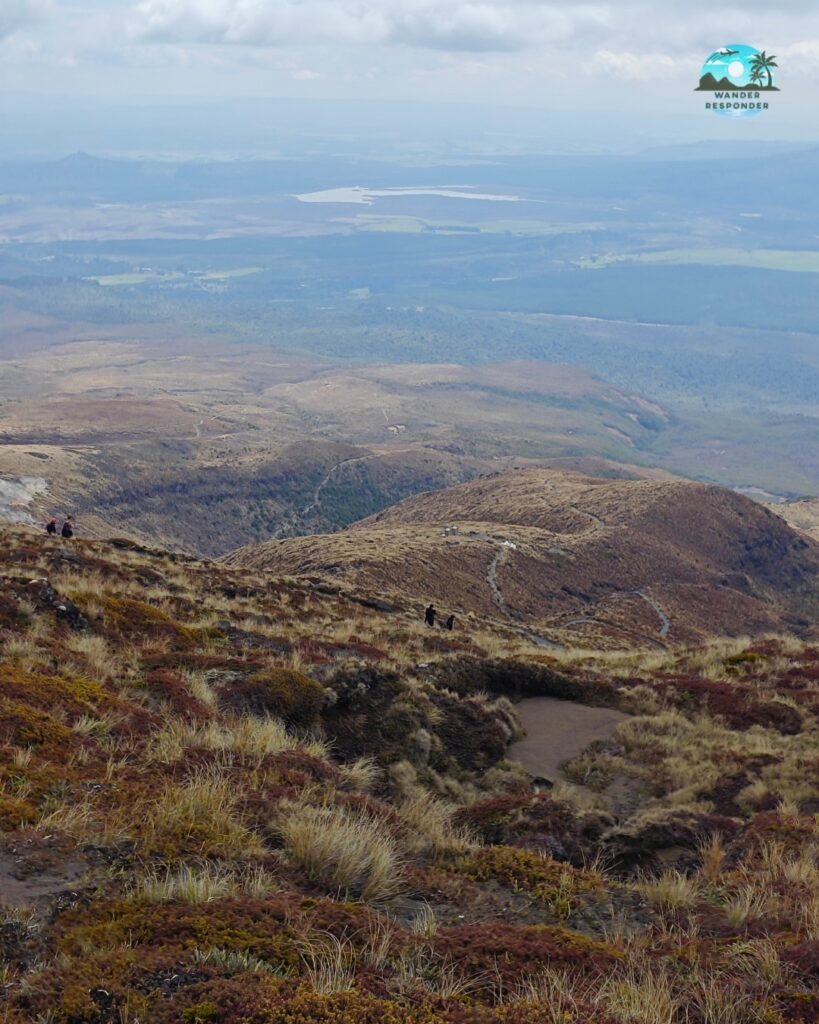
This section is deceptively long. At first, the terrain feels easier, but your legs start to feel the cumulative distance. The landscape gradually shifts from volcanic desert into more vegetated slopes.
You’ll pass steam vents, old lava flows, and wide views over Lake Taupō in the distance on clear days. It’s less dramatic than the crater section — but it’s where endurance really matters. By the time you reach Ketetahi, your body will feel every kilometre you’ve walked.
What Makes it Truly Special
What makes the Tongariro Alpine Crossing unforgettable isn’t just one highlight — it’s the constant transformation. In a single day, you pass through alpine valleys, active volcanic zones, crater summits, bright turquoise lakes, ancient lava fields and subalpine forest. Few hikes in the world change scenery this dramatically in such a short distance. And of course, there’s the iconic silhouette of Mount Ngauruhoe, famously known as “Mount Doom” from The Lord of the Rings, dominating the skyline for much of the hike.
Why Shouldn't I Hike it in Reverse - From Ketetahi to Mangatepopo?
Hiking the Tongariro Alpine Crossing in reverse — from Ketetahi to Mangatepopo — is technically possible, but it’s rarely done for good reason. The main issue is the elevation profile: you’d be turning what is normally a rewarding, steep descent from Red Crater into a long, exhausting uphill grind, especially on loose volcanic scree where footing is already challenging. Instead of finishing with the iconic Emerald Lakes and a gradual downhill, you’d be climbing toward them, which removes much of their dramatic “reveal” effect. The scenery is also less impactful in reverse — the crossing is designed so that the most visually powerful moments (Red Crater, Emerald Lakes, and the volcanic ridgeline) unfold progressively as you descend toward Ketetahi. Hiking it backwards also means starting with a long, relatively monotonous uphill slog through the lower forested sections, which feels far less rewarding than enjoying the exposed alpine and volcanic drama above.
Is it Worth It?
The Tongariro Alpine Crossing is one of those rare hikes that feels physically challenging, visually overwhelming, and emotionally unforgettable all at once. It’s not just about reaching the highest point or seeing the Emerald Lakes — it’s about the constant sense that the ground beneath you is ancient, alive, and ever-changing. By the time you finish at Ketetahi, you won’t just remember the views — you’ll remember the feeling of walking across a volcanic world that doesn’t quite feel real.
And that’s exactly why it’s considered one of the greatest day hikes on Earth.
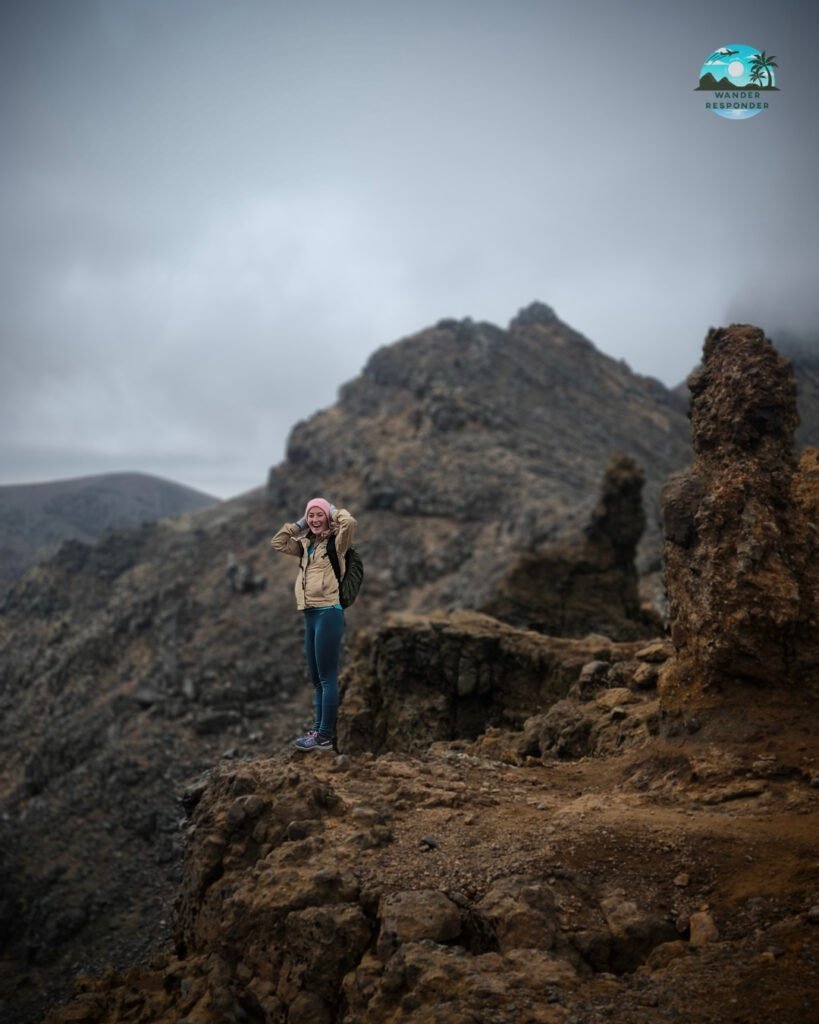
We first hiked Tongariro in early October, when weather is still early-spring-like. We didn’t see Mount Ngauruhoe for most of the hike, almost until we started our descend. That’s when the clouds lifted and we were in awe. This majesty was dominating the sky this entire time and we didn’t see it until now? We felt blessed though. What a magnificent sight.
Second time we did it in November and it was many more hikers as well, but if you plan everything accordingly you should avoid most crowds too.
The DOC and other organisations revolving around Tongariro are constantly issuing warnings about hiking in unstable weather conditions. Many people show up utterly under-prepared for the hike. The hike is truly no joke, and seeing people doing it in all-stars and crocs is a mockery. The official time expected for one to complete the hike is in 8 hours. We (Matt and Mansa) are experienced hikers, but were very much out of shape at the time of our Tongariro experience. Nevertheless, we finished it in under 6 hours with numerous stops and lunch break along the way. So, the time you’ll need truly depends on your physical condition.
I’m writing this final sentence because of the shuttle booking as well. If we’d rely on the shuttle service both ways we’d have to wait for 2 hours after completing the hike, before they would come pick us up. But we had our vehicle parked at the finish point so we simply proceeded with our travel at the end.
To get even more prepared read this blogpost about “Common mistakes hikers make on Tongariro”. I also wrote a blogpost about preparing for Tongariro and shopping for provisions nearby.
Did you know that...
… by purchasing through our links, you support the creation of our website at no additional cost to you. Thank you <3

Mansa
More New Zealand Blog Posts
There are loads of adventurous things to do in New Zealand and we also wrote detailed guides for all of the epic things you can do there. You can explore more of our guides by clicking one of the links below.